

How To Set Saddle Height Mountain Bike
In terms of bike fit, seat top is easily the virtually basic and maybe the most important measurement to get right. With the correct seat height, riders will be more comfortable and able to produce more power than with an improper setting. The good news is, it's easy to find the right saddle height, which can be used on pretty much whatsoever mountain bike.
Why is mount wheel seat height so of import?
For starters, an improperly set mountain wheel saddle acme tin can lead to joint pain, muscle soreness, and fifty-fifty saddle sores. Virtually riders tend to set their seat elevation too depression, which results in burning quads on the climbs and overworked joints. By raising the saddle up, the passenger is able to go more extension out of their leg muscles, and the knee joints aren't forced to curve as sharply.
On the flip side, a saddle that is raised upwards too high can lead to pulled hamstring muscles, hyperextended tendons, and even achilles and other foot bug. Not merely that, cornering and handling suffer equally the passenger'due south center of gravity moves college off the ground.
Beyond condolement and treatment considerations, seat tiptop plays a large function in power transfer on the bicycle. With the correct saddle height, riders are able to produce the optimal corporeality of leverage with every pedal stroke, avoiding the muscle fatigue that is especially associated with seat heights that are as well depression.
How practise I find the right height for my saddle?
There are a couple easy of ways to get the right saddle height for a mountain wheel. Both of these methods will help riders find a starting point, just it's important to make refined adjustments based on feel.
Starting time at the Hips

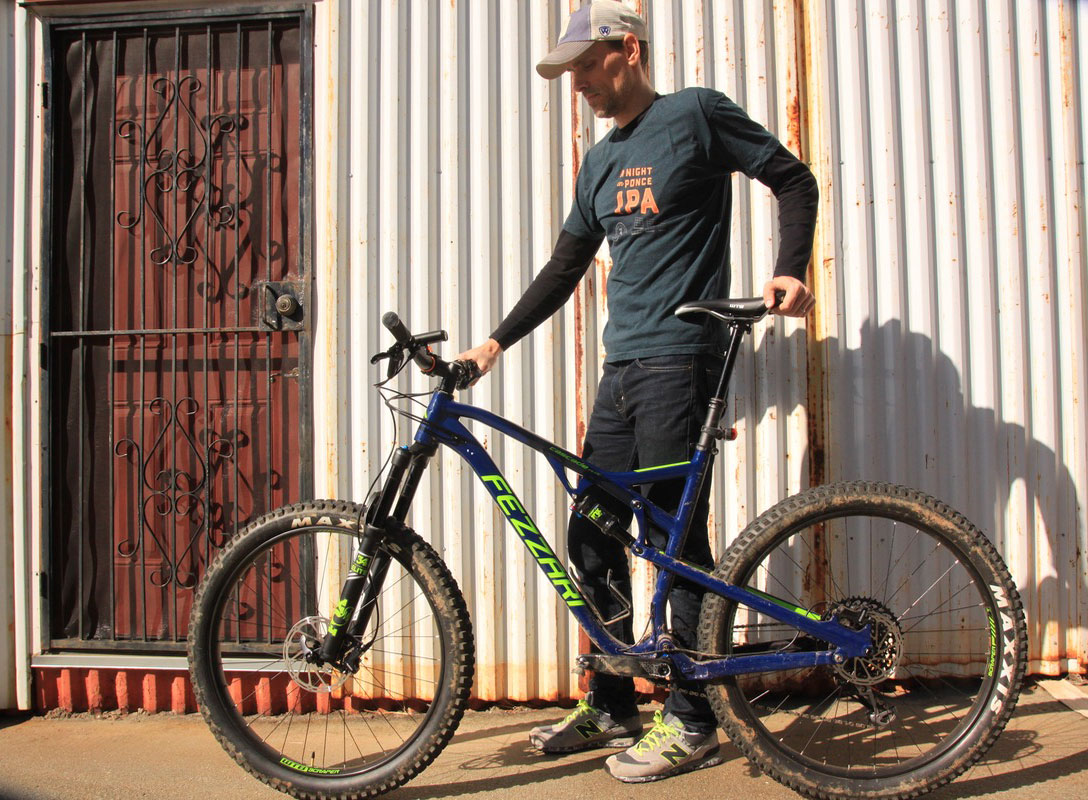
One quick and like shooting fish in a barrel way to detect the right saddle superlative is to simply stand adjacent to the bike and prepare the saddle fifty-fifty with the top of your hip os. It's best to do this while wearing normal biking shoes since this will touch on the altitude from saddle to pedal.
I found this method to work pretty well on a full suspension bike I'm currently testing. Of course, every bike has a slightly different static lesser subclass height, so this method volition work ameliorate on some bikes than others. Retrieve, this is just a starting point, and once an exact seat height is determined, that measurement tin exist transferred to any bike, regardless of lesser bracket peak.
For riders who are used to riding with a saddle that'south too low, hip tiptop may come every bit a chip of a stupor. At least give this a attempt, and if later on a brusk ride it feels uncomfortable (or unsafe), drop the meridian half an inch and try once again.
Measure Your Inseam

If yous know your inseam measurement, you can multiply that measurement by 0.883 to get a rough idea of your saddle height (ie, the distance from the center of the bottom bracket to the height of the saddle). Personally, I'1000 not super confident in this number for a few reasons:
- Everyone calls this a "rule of thumb" or a "rough" approximate for saddle height, but the precision of the number (to the thousandth!) implies that it is very precise. Don't be fooled–it's but a starting signal and is based on averages.
- Non anybody agrees on how inseam should be measured for this adding. Should riders use their pants size, or actually measure from crotch to basis? Should the measurement accept into account shoe height?
- The approximate is off by a full inch for me. According to the rule of thumb, I should have a saddle peak of roughly 31.75 inches, but my bodily (preferred) tiptop is 32.75 inches.
With the estimated saddle top measurement in mind, use a tape to measure the distance from the centre of the bike'southward bottom subclass to the superlative of the saddle straight above the seat post. Again, go for a test ride, and determine if you have the right peak by looking for signs of hyperextension (also high) or muscle and joint fatigue (too depression). If this stuff feels fine, but you're feeling tippy or uncomfortable, read on.
Minimum Seatpost Insertion

When setting seat height, it's important to ensure minimum seatpost insertion into the cycle frame. Most seatposts have a minimum insertion line marked toward the bottom of the post, however, information technology can get rubbed off or covered with dirt over time. Most seatposts volition need to be inserted a good 3-four inches to avoid dissentious the wheel frame. This generally means the mail should extend well beneath the joint where the peak tube joins the seat tube. A longer seat mail may need to be purchased to fix proper seat height and avoid damaging the bicycle.
On the flip side, some riders may find their seatpost is too long to get a proper fit. For alloy and even carbon posts, it is oftentimes possible to cutting off some of the excess from the bottom to allow the post to be fix lower into the frame. Some newer dropper posts are even cuttable, though be sure to cheque with the manufacturer.
While nosotros're on the subject, the numbered markings constitute on many seatposts (like the one pictured higher up), tin can be helpful for remembering where to set a particular mail on a detail cycle, just they aren't standardized across posts. Not merely that, every cycle is unlike, and so even the aforementioned postal service will register a dissimilar number depending on the bike. Seat height, as measured from the bottom subclass to the acme of the saddle, is transferable to whatever cycle and whatsoever post.
A Note on Dropper Posts

Now, one of the symptoms of a mountain cycle saddle that is as well high is reduced cornering control and stability, specially on descents. If everything else feels comfortable, don't lower that seat elevation just however! This is precisely why dropper posts exist, and if you don't accept one, consider getting one. If you do have 1, use it oft.
For many years I rode with a fixed seat post, and when I set up my seat meridian, I compromised by setting the mail a tad lower than the ideal height for me. The consequence was my handling felt ok, but I certainly wasn't maximizing my power. A dropper post allows riders to get the best of both worlds, essentially offer the passenger multiple seat heights to choose from, depending on the circumstances.
When setting seat height with a dropper mail, always be sure to set the tiptop based on the fully extended length of the post. At that place is no need to set up the lower tiptop of the post; essentially, there is no height that's too low for descending (within reason). This is why riders today are enervating dropper posts with more and more travel, and bikes with shorter seat tube masts to permit maximum flexibility.
I institute my seat superlative! Now what?
For bikes with a quick-release seatpost clamp, I recommend swapping the clamp for one that uses an Allen bolt. This is an inexpensive part that can salvage weight, merely more than importantly, it ensures that no one (the rider included!) monkeys with the seat superlative. Keeping a consistent seat meridian from ride to ride makes the rider stronger and more confident over the long term.
Once the seat height is dialed, use a tape mensurate to find the actual height using the method described in a higher place, and shown in the tertiary photo from the top. Memorize this number and employ it for wheel demo days, rental bikes, and even swinging a leg over a friend'due south bike.
What's your saddle height, and what is your inseam to seat height ratio? Mine is 0.910, non 0.883. 🙂
Source: https://www.singletracks.com/mtb-gear/set-mountain-bike-seat-height-important/
0 Response to "How To Set Saddle Height Mountain Bike"
Post a Comment